
Contents
- Overview
- Installation
- Setup
- Settings
- Starting the Server
- Stopping the Server
- Monitoring and Error logs
- Un-Installation
- Upgrading QuickBooks (NZ/AU)
- Troubleshooting
Related Documents
Xact Link for ACT! and QuickBooks Server Guide
Step 5 – Testing the connection
Assuming Xact Link for QuickBooks is already installed on the workstation / client machine
- Run ACT! and log in as ACT admin
- Ignore any connection error messages thrown by QB Link
- Open contacts details view and select QuickBooks tab
-
Click Options button on the tab’s toolbar

- Click Settings tab
- Set Connections type to Xact QB Link Server
-
Click Settings button
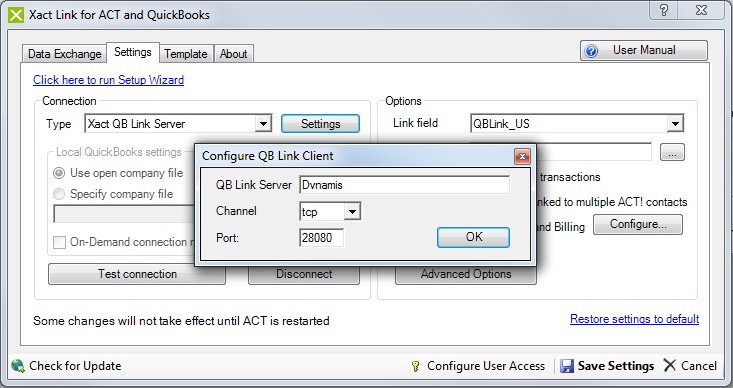
- Fill in the server name and connection settings to match the settings in the QB Link Server
- Click OK
-
Click Test connection
Sometimes performing Test connection multiple times causes an error, try restarting ACT in such cases.
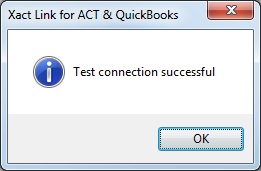
- Click Save Settings button and restart ACT!QB Link Server is now good to go.
Consult the manual for Xact Link for QuickBooks for more detailed client side settings and configuration.